NVV - Guides (Early Showcase)
# Getting Started
Written by Admin
Please note that everything on this page is a subject to change (WIP) so expect bugs/typos and if you do, you can send them to our Telegram. Currently demonstrating its features.
Welcome to Null Core - Visual Vault Guides. On this page you will find everything you would ever want to know about Null Core software for Team Fortress 2, how to configure it, how to avoid common crashes, how to make your own visual config, how to set up an aim bot and so on! We'll brief you on a simple markdown which will be used through all of the chapters and would help you to understand things better. Let's start! Here's common blocks -
This is a pro tip or a cool trick. Be like a pro!
Code block, for simple and reasonable things, including quick copy!
There can be an issue. Or just an important note!
Coming to images, there are simple image blocks with descriptions which will help you with understanding or just giving you some context:
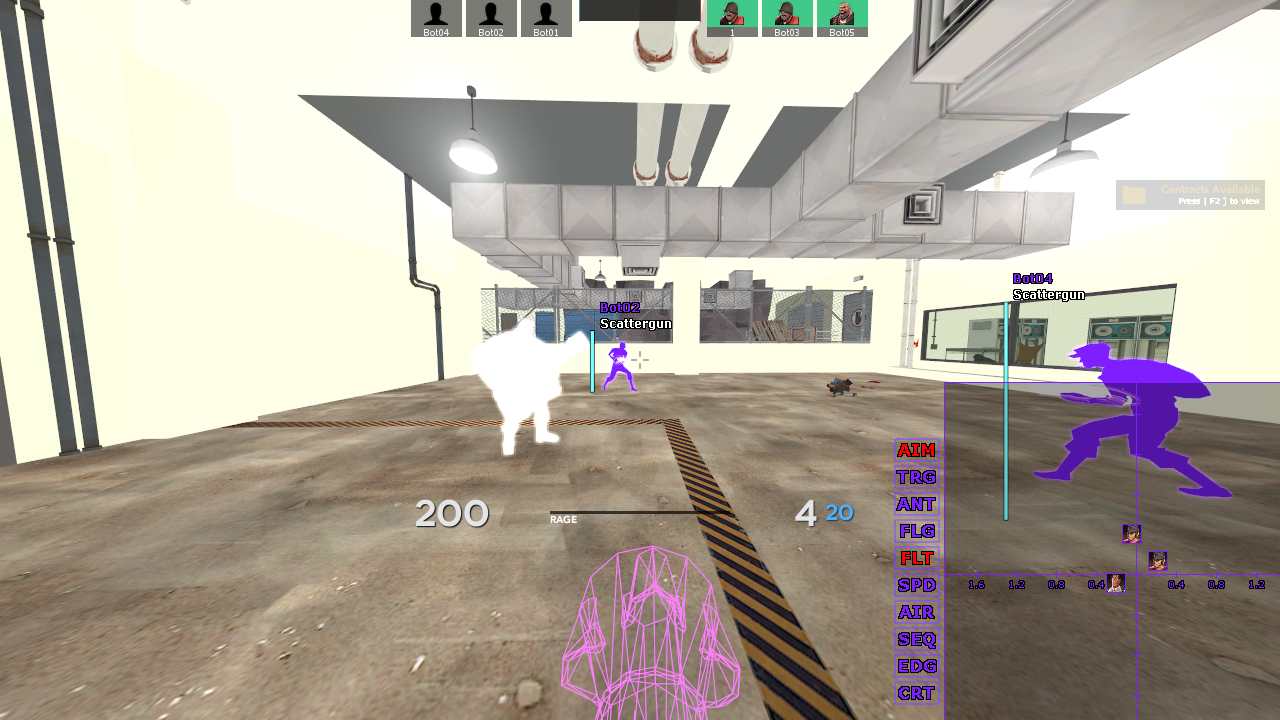
This is not how you make a visual config!
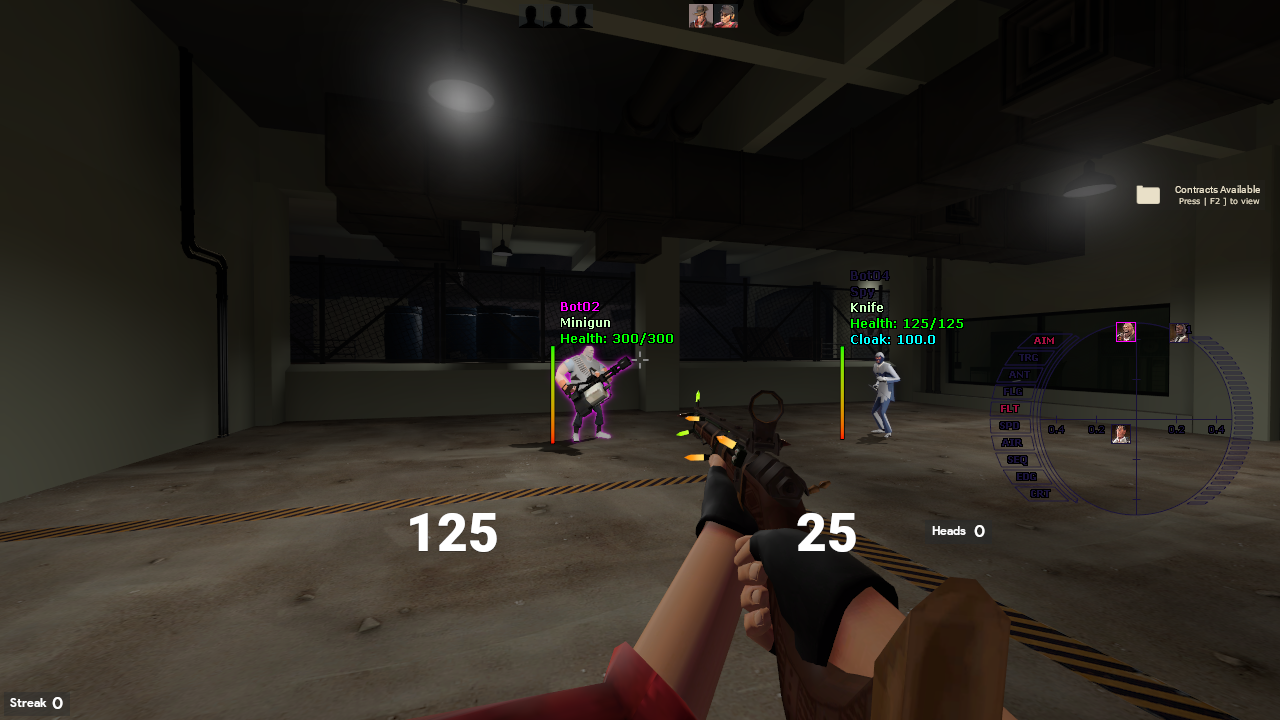
Check this out!
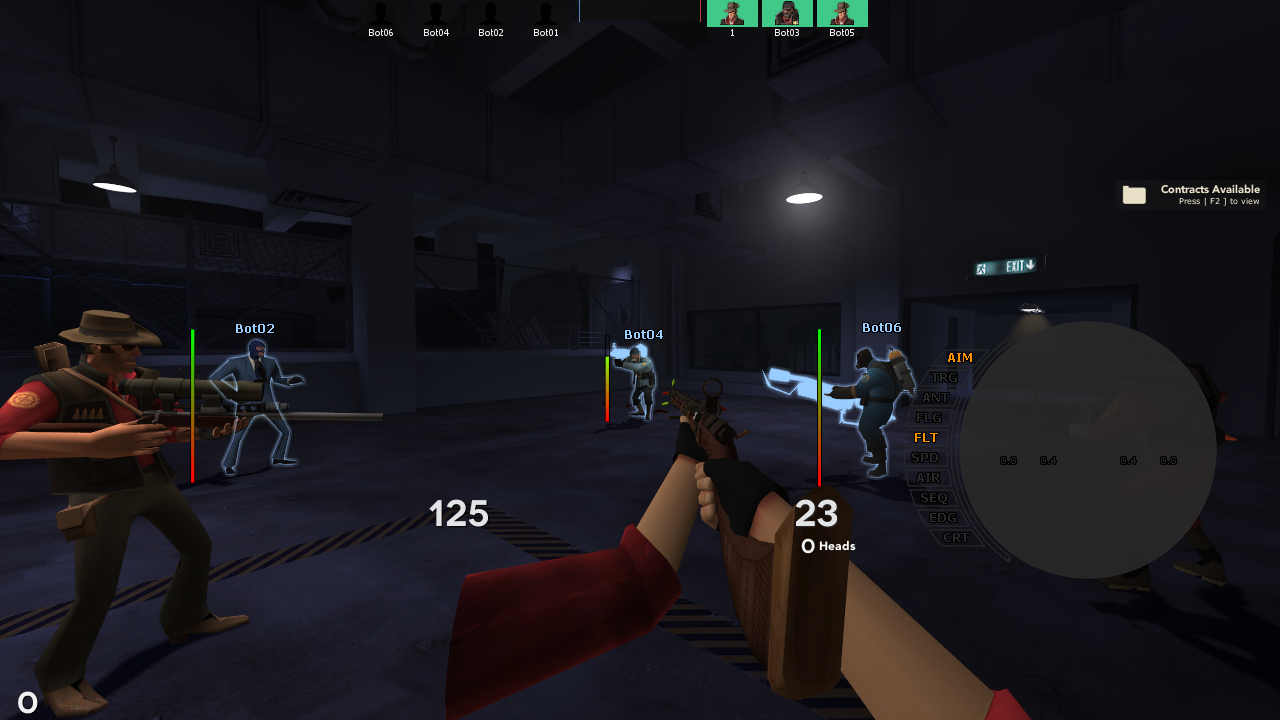
This looks like flowhook visuals!
# First Glance at the Menu
Written by Admin
Now if you aren't familiar with Null Core or you've never seen it let's start with its actual User Interface (later called UI).
On the image below you can see the first appearance of it once you have it injected in game by clicking INS by default.
Null Core will always remind you the button to open the cheat once you load in TF2 with it by notification
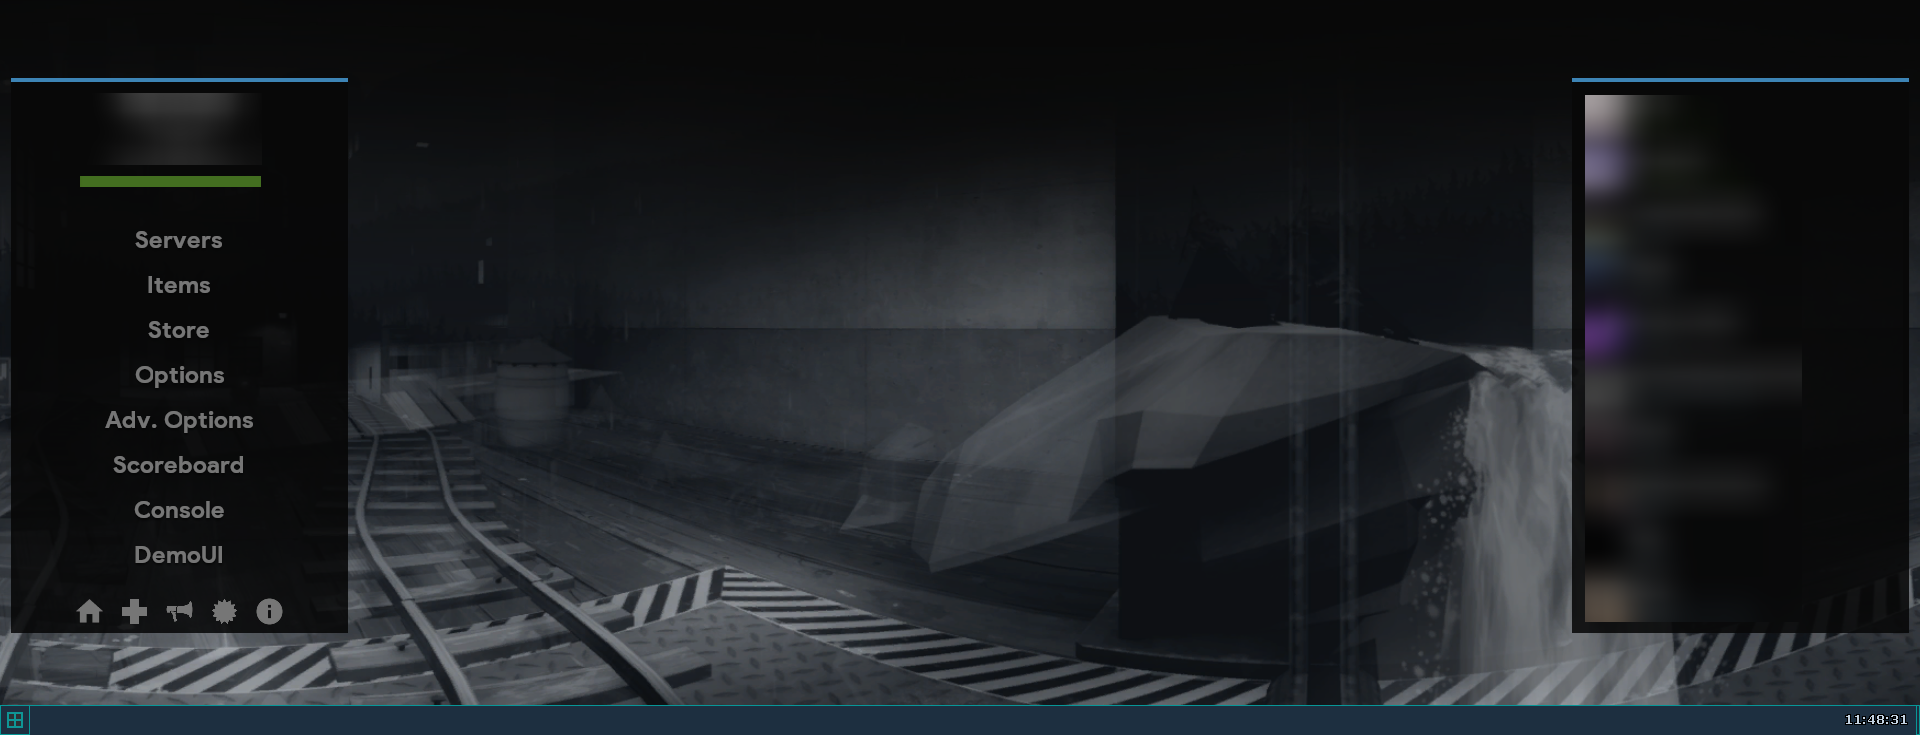
At the bottom you'll see navigation tab and little icon on the left you have to click to open menu
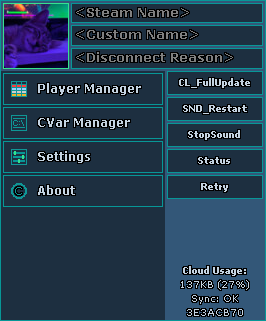
Let's call it navigation menu
Note that Custom Name and Disconnect Reason no longer work in official TF2 servers.
# Player Manager
Written by Admin
Coming to Player Manager it's straight forward - first thing you'll see is a big window with, if you're currently on server with players, players themselves including yourself and additional information like NCU or Priority, or none, if you're not in any server.
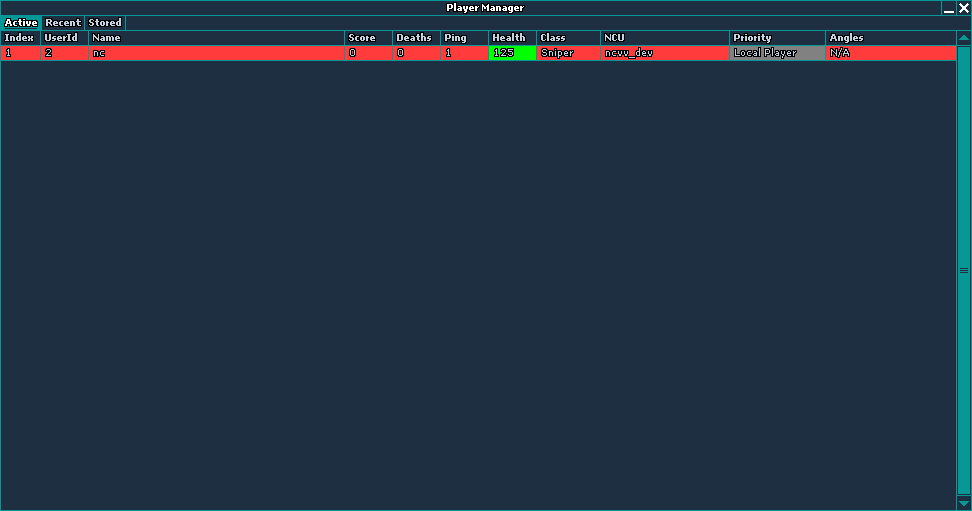
This is what you'll see on empty server
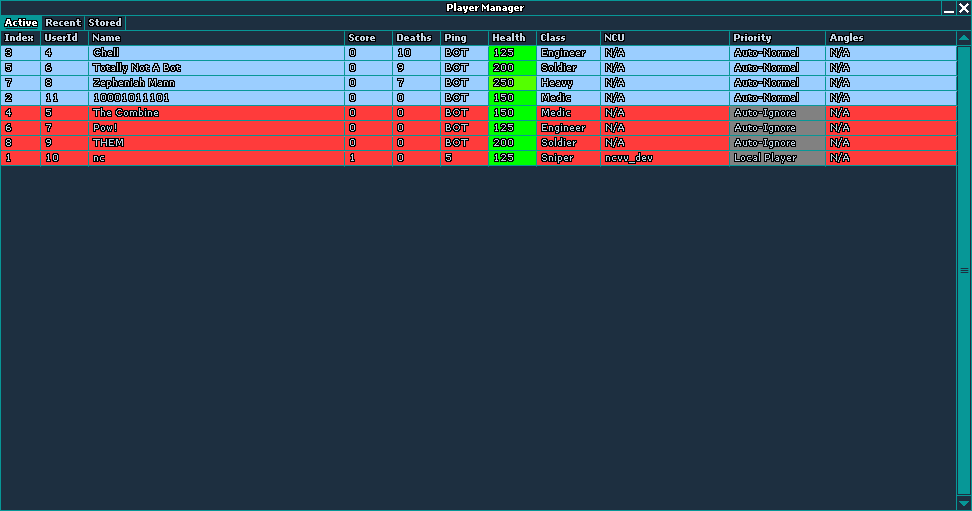
And this is what you'll see on server with players
Note that "Angles" header does not work in the current build of Null Core.
Skipping obvious headers like kills/deaths or players health there's two other headers which are NCU and priority
you can notice there's two other tabs at the top left named "Recent" and "Stored" but let's leave these tabs behind and first talk about NCU header.NCU (Null Core User) header will display yours and other peoples NCU. On other side, your ESP (Extra Sensory Perception) will display other players who also use Null Core as NCP (Null Core Player). On two images above you can notice there's three priorities, "Local Player", "Auto-Normal" and "Auto-Ignore". As they speak for themselves, they are automatic as "Auto-Ignore" will prevent from shooting your own teammates but will still let you target them with Medi-Gun or Crusader's Crossbow. "Auto-Normal" priority being the default priority for your opponents, which makes Aim Bot treat each target equally (priority-wise). However, you can ignore (prevent Aim Bot/Trigger Bot from targeting specific target) any player you want by right clicking on that player no matter where or under what header and choosing the "Priority: Ignore" option. To set it back to default or let's say, unignore, click on that player in player manager again and choose "Priority: Auto" which will assign a default priority based on that player's team.
Null Core automatically detects mp_friendlyfire 1, setting the priority of your teammates from "Auto-Ignore" to "Auto-Normal", custom priorities which has been set to a specific player will always remain untouched!
Player Manager in action
The "Recent" list has a limit of 4096 recent players it can store. Therefore if you have been playing with Null Core for a very long time and have never thought about this tab, we recommend you to clean it once in a while as opening it can cause your game to crash or a big FPS drop.
# CVar Manager
Written by Admin
Opening CVar (Console Variable) Manager in navigation menu will show a small tab with input box.
CVar Manager lets you bypass various console commands which are considered as a cheat console command.
For example, you can change your viewmodel offsets. Now, the command is considered as a cheat so we can 'set' sv_cheats to 1 to bypass it, of course server won't let you use noclip.
Or you can enable clip brushes on official TF2 servers without any problems.
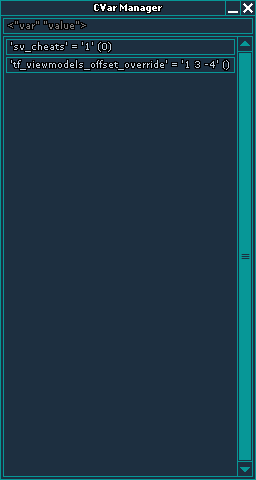
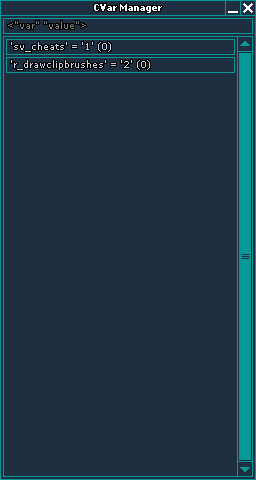
The value in brackets represents the original value of changed CVar. If there are more values than one, you have to type CVars as "var" "values"
Note that all the CVars you've changed in CVar Manger aren't saved. After closing TF2 you'll have to type CVars again.
For more CVars you can visit list of TF2 console commands and variables
# General Settings
Written by Admin
Upon opening Settings menu, you'll see a window with a lot of check boxes and other tabs inside which can get a bit confusing at first, but don't worry, we'll go through each, what it does and should you enable it.
Of course, Null Core's menu isn't perfect, it has a quite a lot of broken features, some cheat limitations only an experienced user might know and so on, we'll try to break down each thing.
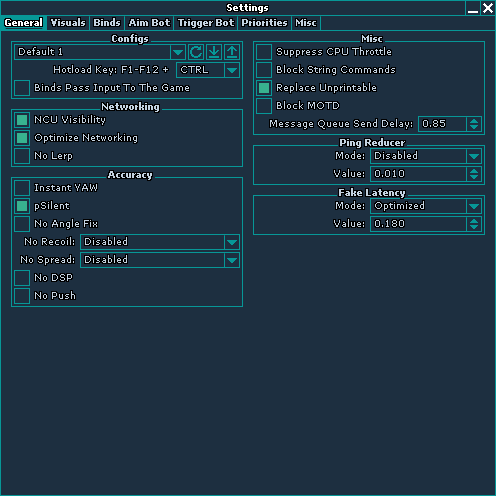
Settings menu
# Configs
Written by Admin
Null Core has two types of configuration files or, presets - the first of them is the ones indicated in the picture above (that is, preset named "Default 1" in General tab) which contain almost everything - from the aim bot settings to the simple text for spam in the chat.
You're given 3 actions you can perform with the preset/config you have selected - Reset your selected config, import or export with little corresponding icons on the right.
You can click on the arrow pointing down to open dropdown menu of all configs.
Null Core only have 12 configuration slots which are given to you by default (From "Default 1" to "Default 12"), you cannot create more but you can reset the ones you don't need. If you are importing a config, make sure you have chosen an empty slot, if needed, because it will be overwritten. Be more wise when creating/importing configs!
Down below in the Settings menu you can set hotkey to quickly load your config but it's a bit different.
No matter what key you choose in dropdown menu, you will still have to press F1-F12 with the key you have chosen unless it is set to "None" which will make the cheat load your configs by just pressing F1-F12 buttons.
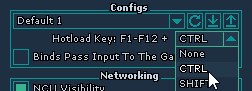
Setting a Hotload key
# Networking
Written by Admin and krawi
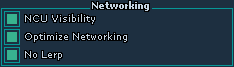
Networking tab is located right below configs tab, leaving you with three options - "NCU Visibility", "Optimize Networking" and "No Lerp".
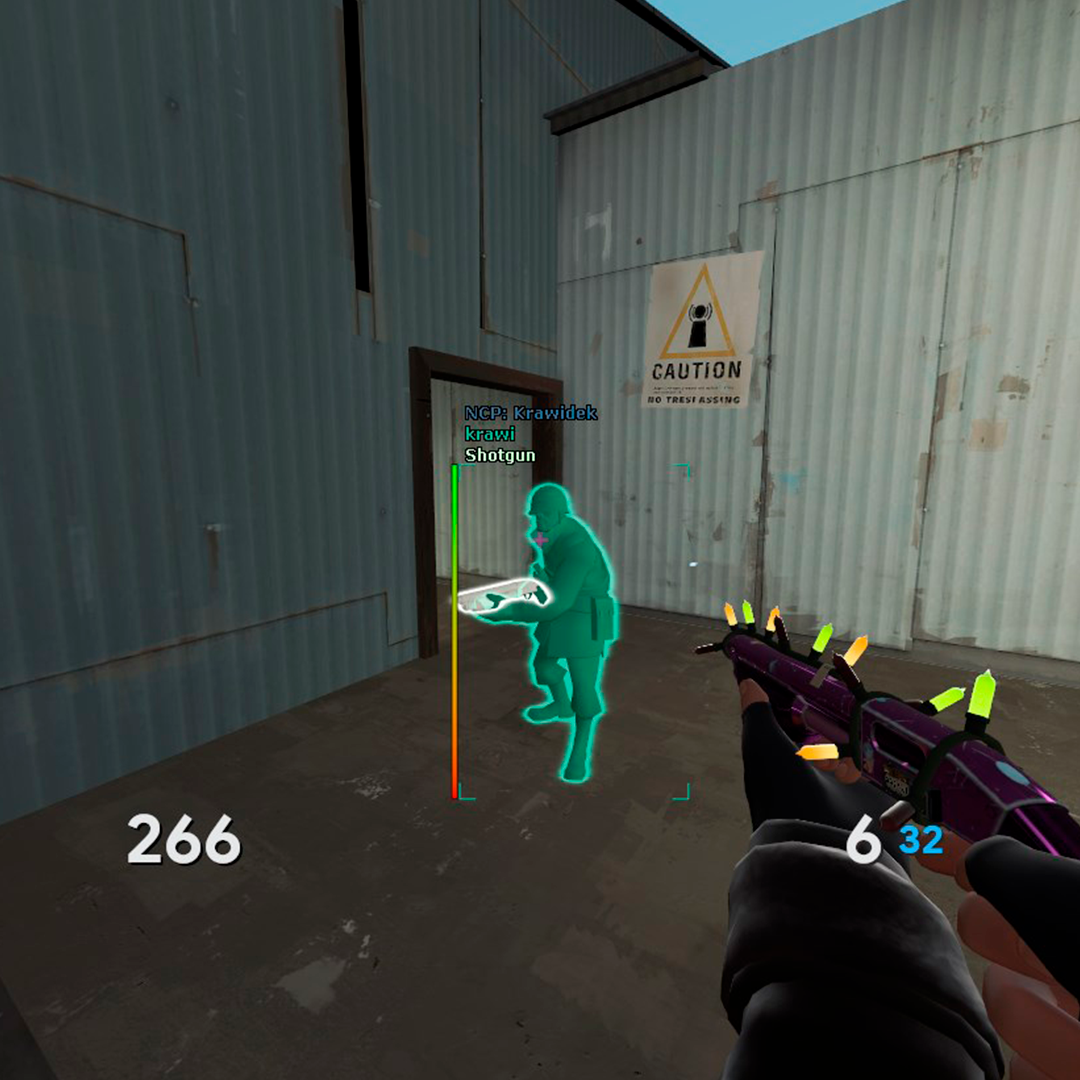
NCU Visibility enabled
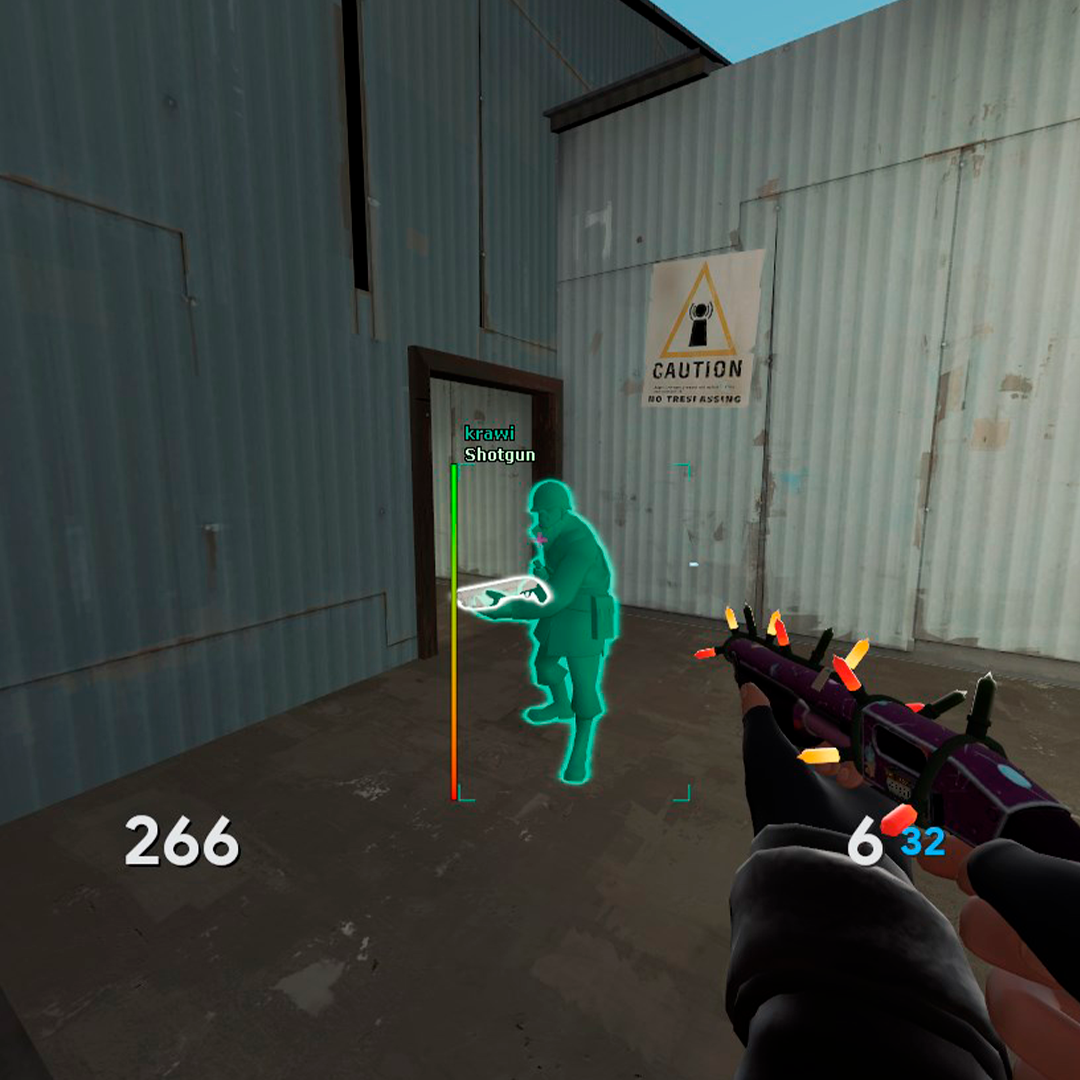
NCU Visibility disabled
"No lerp" will disable interpolation. Source's interpolation system prevents the jittery motion of players and entities by buffering server updates and then interpolating the gaps between these updates. With Null Core, you can disable the interpolation to gain a slight time advantage and overall accuracy with hitscan weapons. It is recommended to have the feature on but only in case if you are comfortable with jittery entity movements or want to gain extra accuracy.
You can read more about interpolation here - Valve Developer Community - Interpolation
We highly recommend disabling "No lerp" feature before joining any community made server since it is detectable by community Anti-Cheats. We also suggest you to turn "No Lerp" off if you're playing with projectiles so the predicted trajectory will be much smoother!
# General Misc Settings
Written by Admin
While we finish this page off, we have only a couple more settings left in the same general tab.
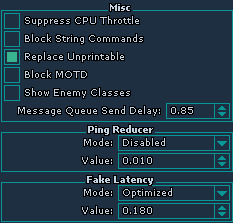
Let's get things as simple as we can - "Suppress CPU Throttle" disables CPU throttling when you're alt-tabbed out of the game, resulting in game remain having consistent FPS. We recommend to have this feature on if you are running the game in borderless or windowed mode as sudden FPS drops when the game is out of focus can be a little frustrating.
"Block MOTD" - Blocks "Message Of The Day", a window which welcomes you to a TF2 server. Very useful and is recommended to have it on.
"Show Enemy Classes" (New) - Shows enemy class icons in scoreboard. It is recommended to have the feature on.
"Message Queue Send Delay" - A delay that is given before sending another message using "Chat Spam" feature. It is recommended to have it on "5.00" to prevent you getting temporarily muted.
"Ping Reducer" - Reduces your ping to a certain point. Recommended to use with "Fake Latency" paired to achieve legitimate ping.
While this does normalize your ping to more believable numbers in scoreboard when used with "Fake Latency", 'status' console command would still show your ping along with "Fake Latency"
This chapter is considered to contain small amount of information. If you want to improve it, click the link below!
I have a better explanation
I have a better explanation
# Other Guides
## Viewmodel Editor Installation
Written by Admin
If you're struggling with a manual installation and can't look at text in a eye-blinding notepad, this is for you!
Viewmodel Editor installation is pretty easy, now it's bundled with fixed viewmodels and a ready to use preset so the only thing you have to do is tweak viewmodels to your liking!
Let's start by downloading the mod and install it the way we do with most of the mods - Direct Download
Drag and drop the folder from the zip into your custom folder located atSteam\steamapps\common\Team Fortress 2\tf\custom
Open the folder you just extracted and you should see this with the same path
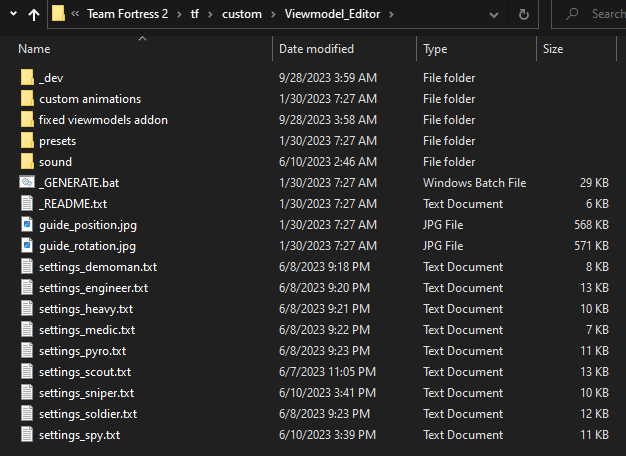
If you don't want to tweak stuff yourself, use a ready preset for moving viewmodel slightly to the right in presets folder. Open "admins guns" and replace the files inside that folder with the original ones you see on the screenshot! Good to proceed!
If you want to make your own class presets by editing settings_'classname', you can either look at positions and X,Y,Z coordinates here or by opening two images inside a mod folder
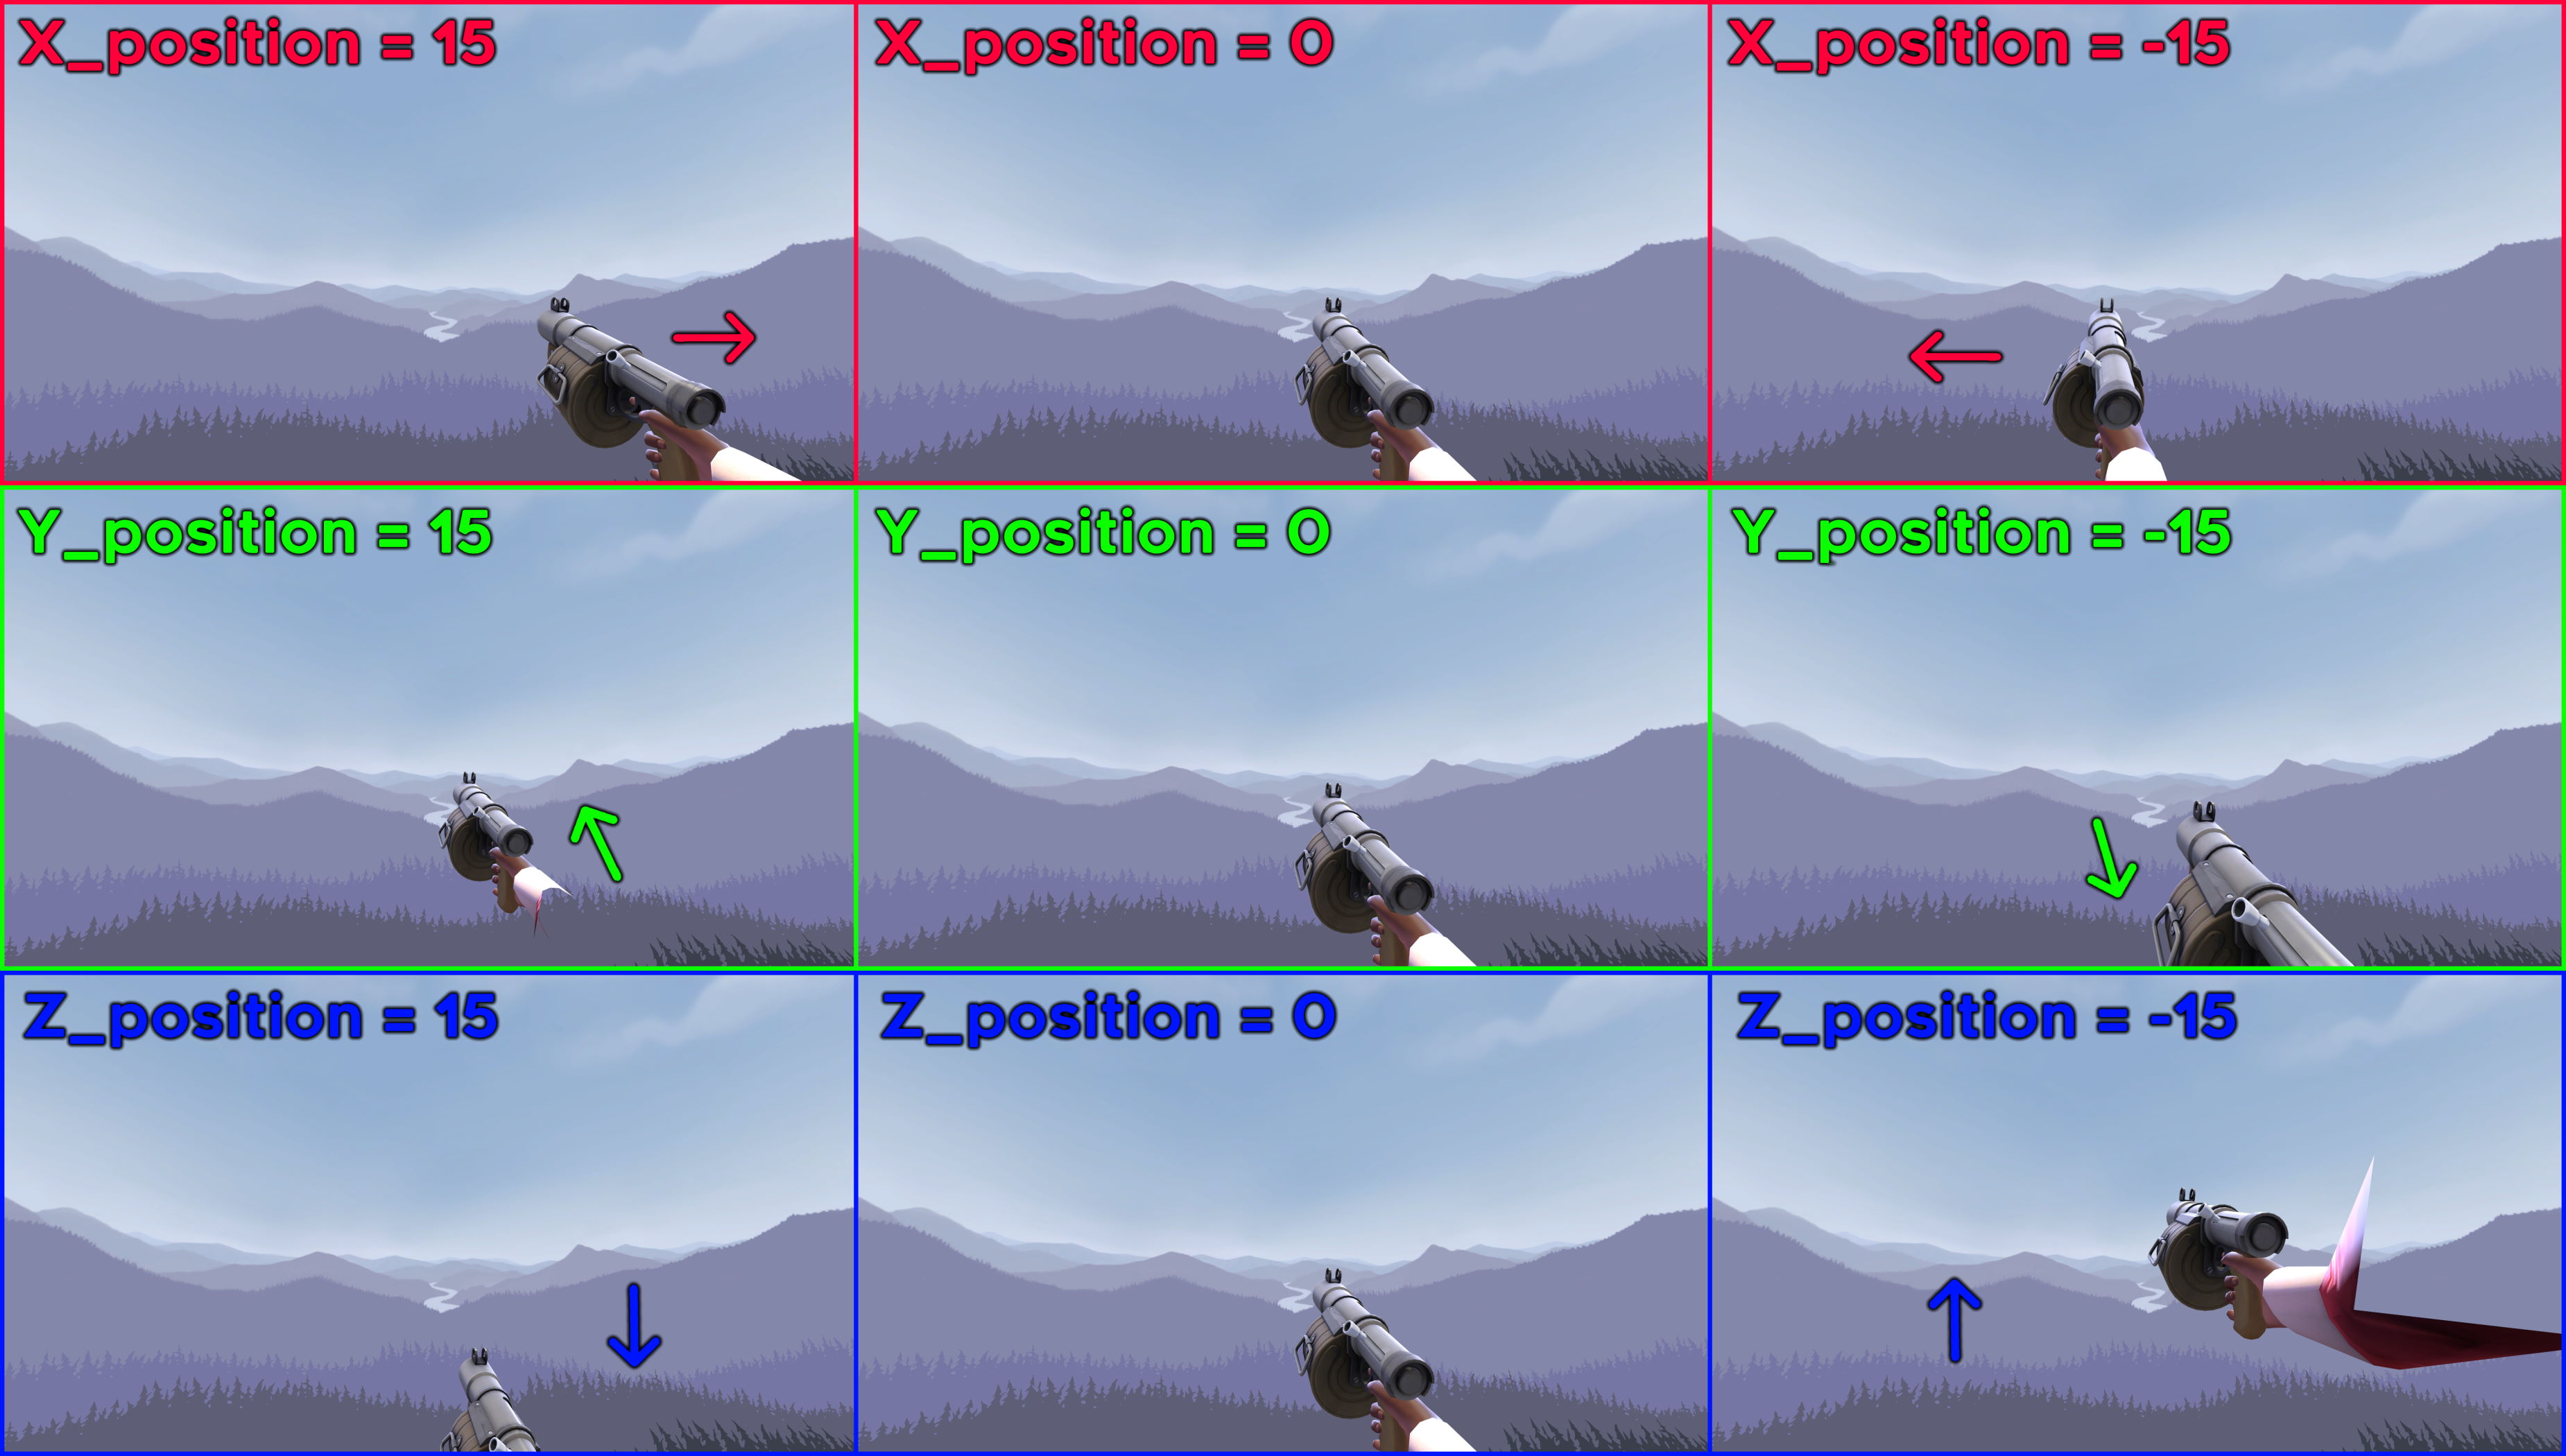
Positions
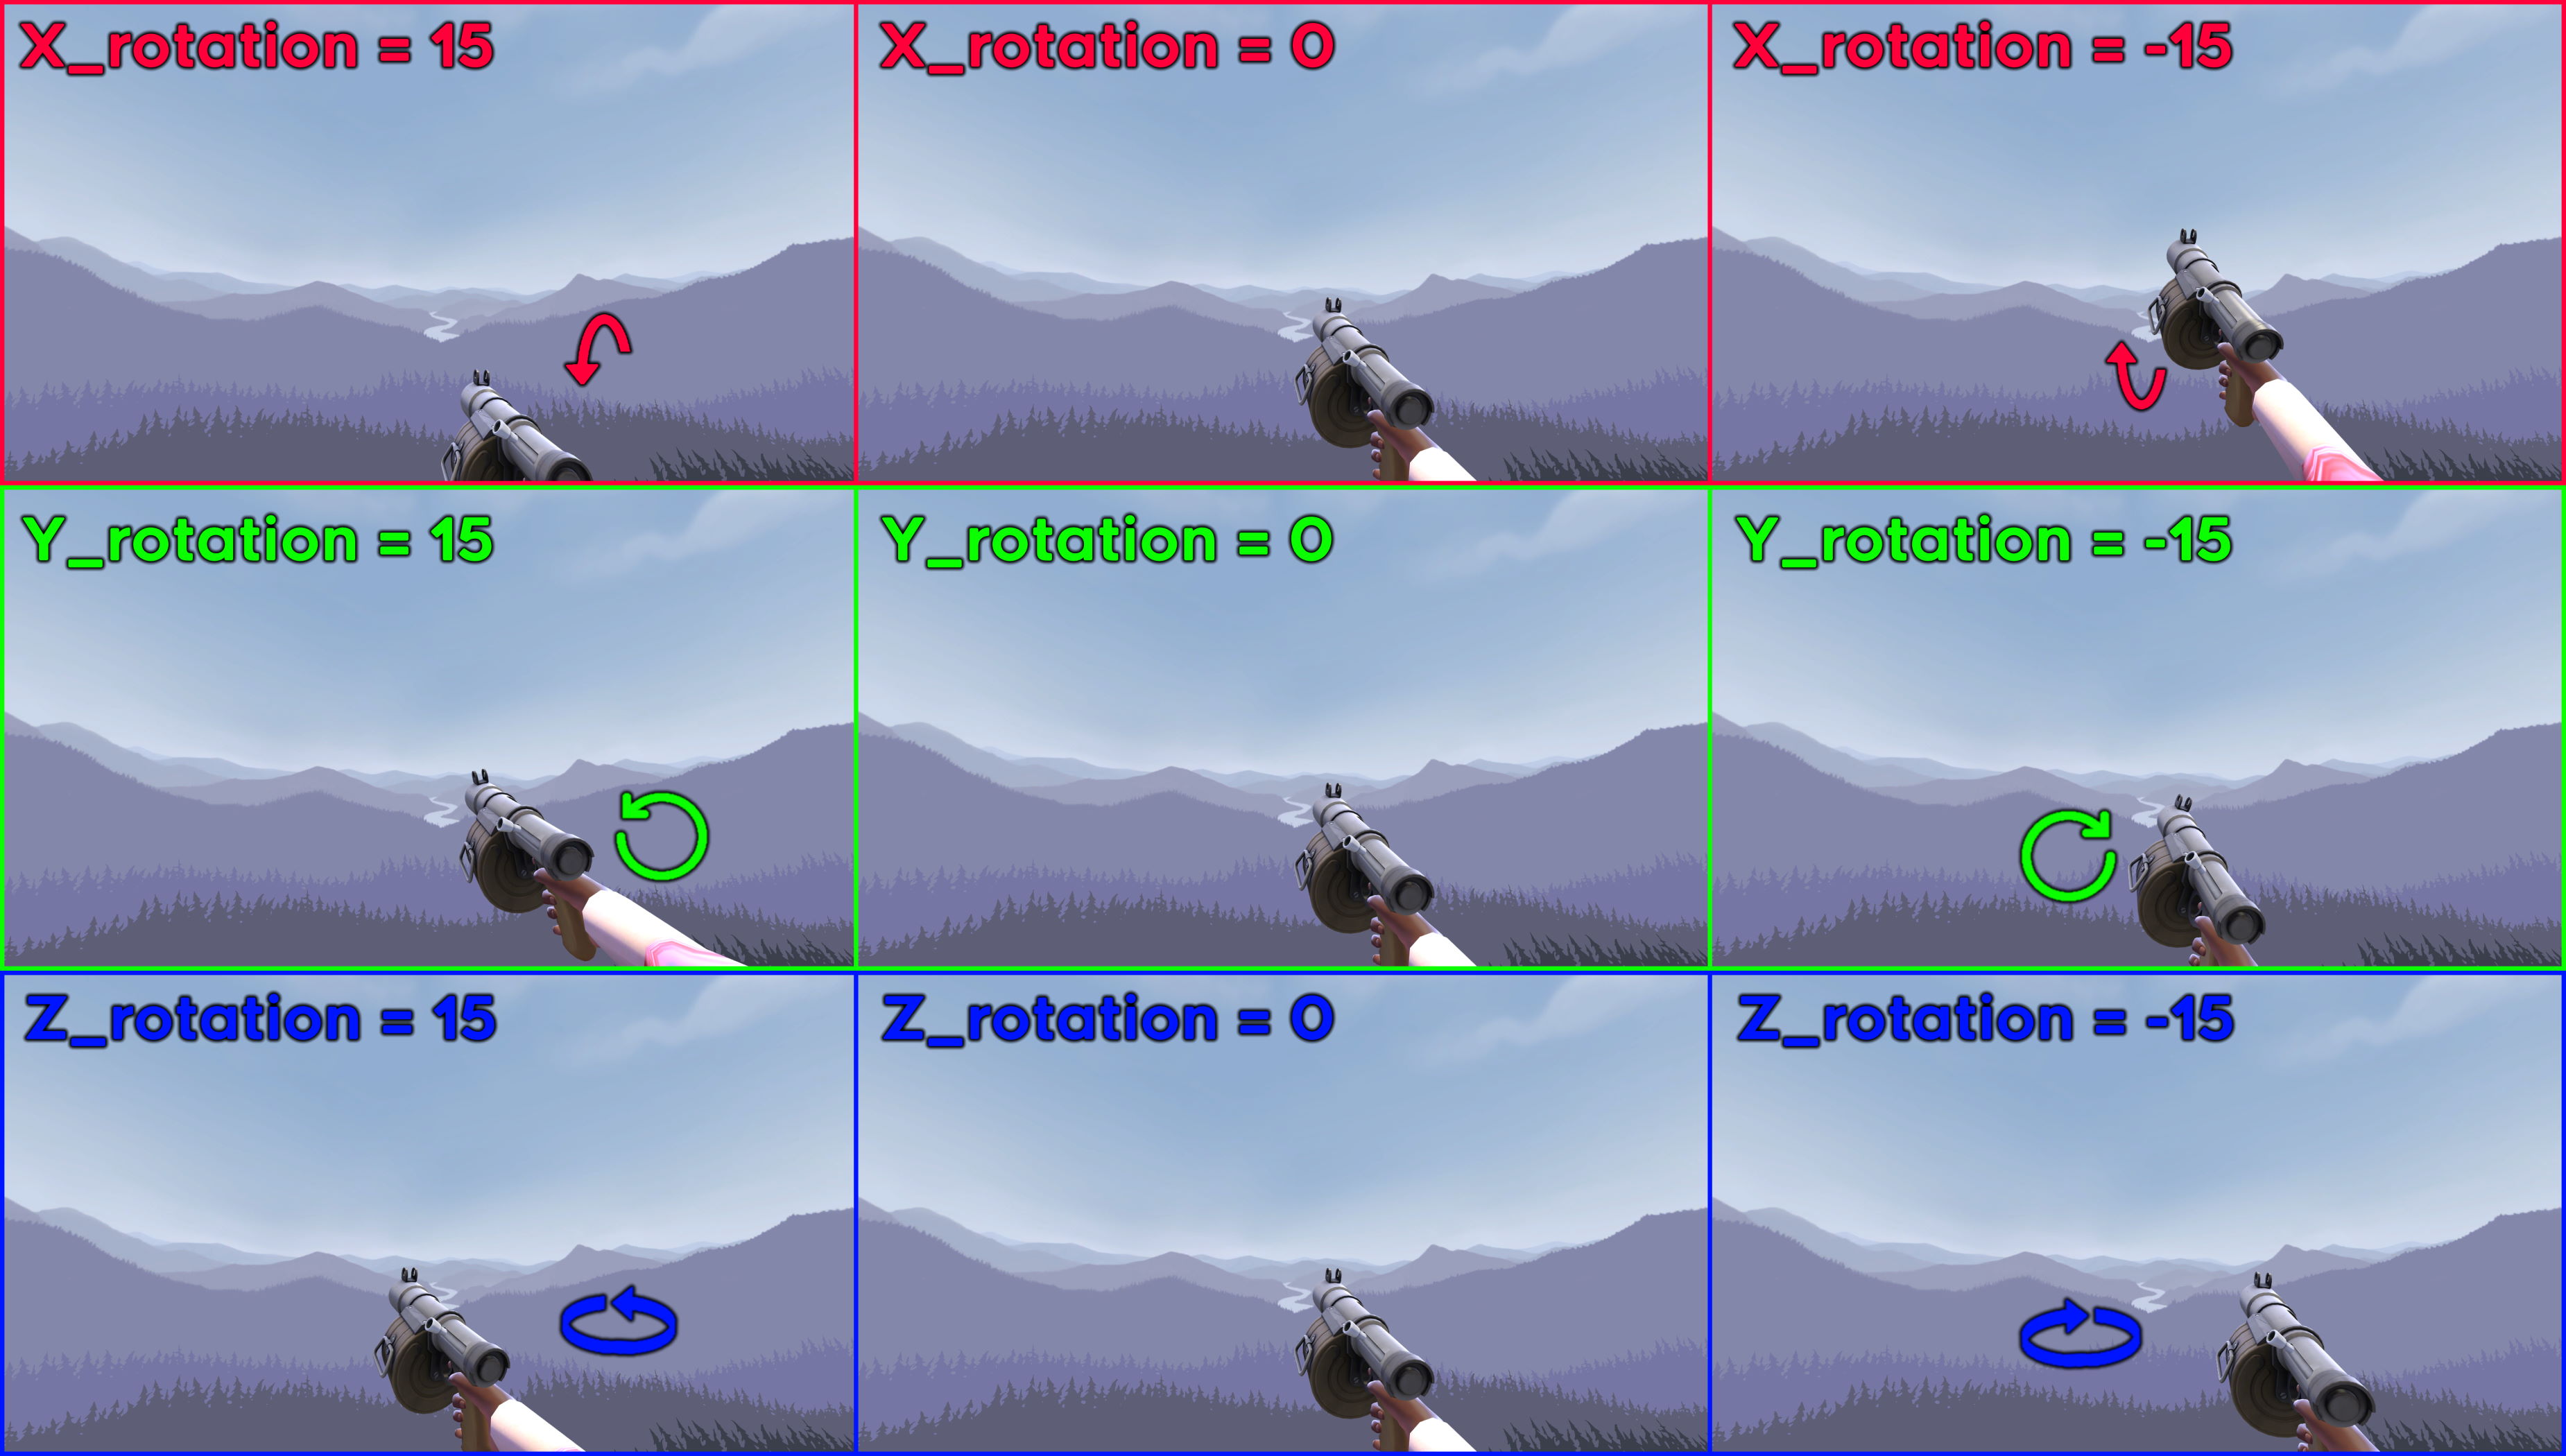
Rotations
Make sure you've set all of the same positions on all animations inside settings file or the viewmodel position/rotation will be reset back to default i.e when inspecting a gun!
Done tweaking your own viewmodel positions or installing one of the presets? Run the _GENERATE.bat file!
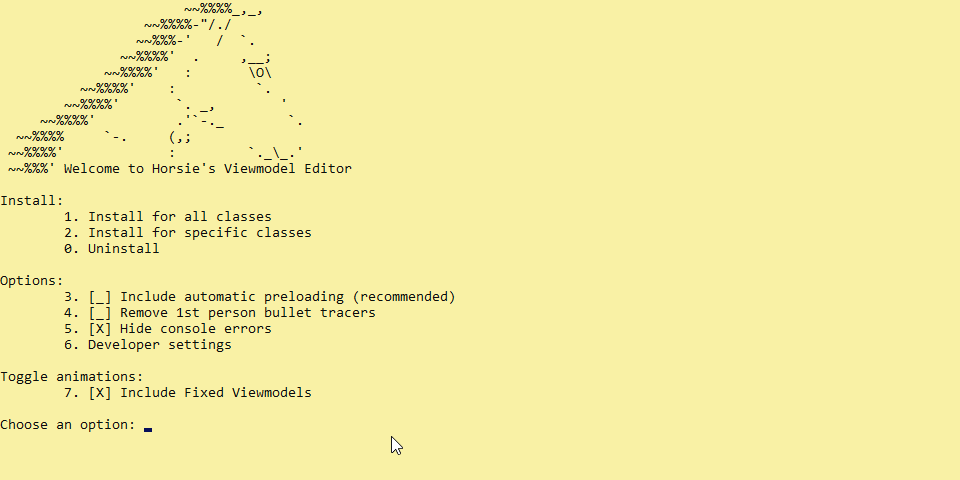
Once you see this window, press 1 or 2 depending on if you want to install settings on all classes or a specific one, hit enter
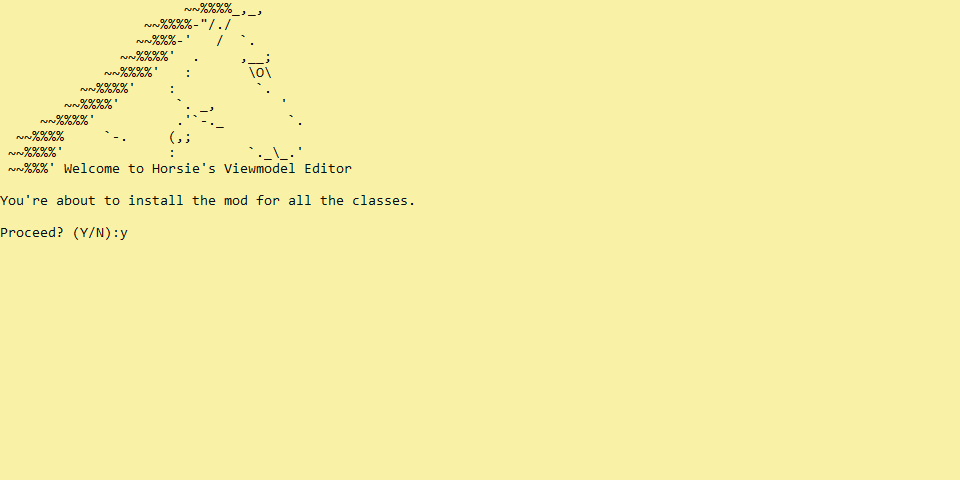
Press y and press enter!
# Contributing
Found a mistake? Something is broken? Noticed a typo or would like to give a better explanation? You can always contribute to NVV by correcting us at public Telegram chat or creating a bug report at GitHub.Want to add your own topic, correct numbers, text, make it more fancy? Please use links above and contact us!